Saturday, January 25, 2014

Siding and Insulation

This week the focus was on installing the siding on the outside and the insulation on the inside. The siding consists of horizontal boards made of a fiber/cement combination and is installed over the top of the Rain Drop weather barrier. We had fiber/cement siding on one of our previous houses and it performs very well remaining stable through significant temperature variations.


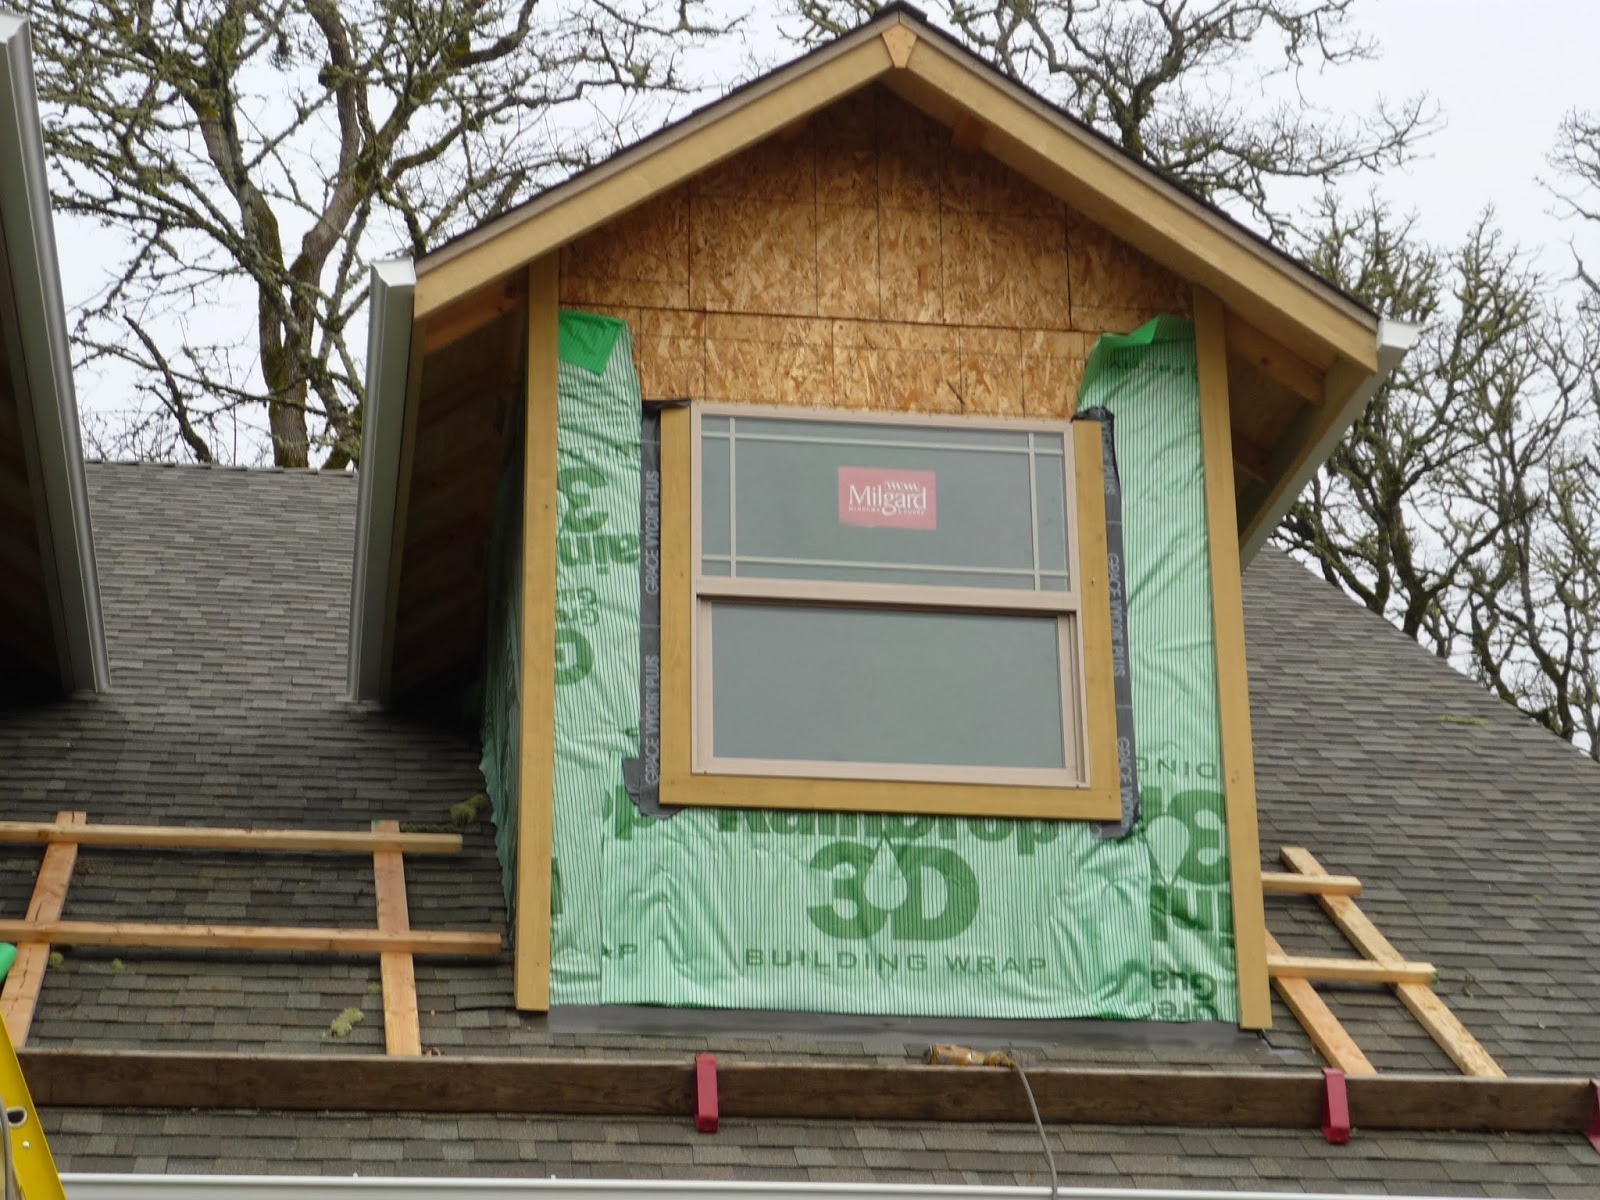
The edges of the building and window frames receive a treatment of cedar trim which is integrated with the siding and then finished with a silicon seal.


The gutters have also been installed:


And here's the house with the siding and trim work completed:


Inside the house the R-38 insulation was installed. The R-value reflects the ability of an insulation material's ability to resist heat travelling through it. Energy Star recommends the level of insulation needed in different geographical areas of the US and that insulation map can be found here:
http://www.energystar.gov/?c=home_sealing.hm_improvement_insulation_table


There are two types of insulation being installed. On external walls, the R-38 has a paper vapour barrier while the insulation in interior walls has no vapour barrier. Here's the external variety in Julia's studio:


The internal insulation is primarily for soundproofing. Here the sound insulation is in place around the upstairs bathroom and laundry room to protect the sleeping ears of those in the bedrooms:


The insulation installers were using some novel equipment to make the process more efficient!


With walls, roof, windows, siding and insulation in place, the whole structure needs to be thoroughly dried out before fitting out the interior. Industrial fans and a dehumidifier are being run 24x7 in order to speed up this process:


That's all for now folks...

Saturday, January 18, 2014

Windows and more Plumbing and Wiring, and the Sock Monkey.

Greg and Stan installed the windows this week. The green Rain Drop building wrap was therefore also installed for the areas around the windows. Here's the view of the front with Richard the builder looking out through the front door-to-be:


The building wrap is a weather resistant barrier that prevents rain getting into the wooden house frame while allowing water vapor to escape from the inside. The little black vertical lines on the Rain Drop wrap are crush resistant to ensure there is always free circulation of air. Our house in California didn't have this feature probably due to the different climate:


Now the windows are in, we can begin to really appreciate the views. Here's the view from the living room out to the oak grove at the back:


And here's the view from the back bedroom. Good job we like trees!


Roger the electrician is shown here wiring one of the ceiling light cans for the living room/kitchen area.


And here's where all the wiring comes together at the circuit breaker box in the garage:


Plumbing for the sinks in the master bath is now in place:


And here's the plumbing for the washing machine and dryer in the laundry room.


Metal nail plates are used to protect pipes in vulnerable areas from an errant nail (for picture hanging or other similar purpose). Here's an example from the staircase:


The alcove in which we plan to hang our largest picture turned out to be an inch too narrow for the purpose. Fortunately, Gregg and Stan were able to expand it's size by a couple of inches to accommodate the picture - one of the advantages of wood framing and helpful framers! Here's the alcove which is in the dining room
:

Finally here's a view of the exit vent for the central heating which is situated on the landing at the top of the stairs:


And what is that above the vent?  Yes, it rather looks like we have a giant sock monkey in the attic:


Saturday, January 11, 2014

Plumbing and Wiring

With the roof now completed, the plumbers, Jeff and Todd, could continue their work along with Roger the electrician who has begun wiring the house. Here's a pile of pipe fittings to be getting on with...


Molly wanted to check out how things were going:


Here's Jeff in action installing the waste pipe from the second bathroom:


And here's Todd and Jeff installing the soaker tub in the master bath:


 The pipework is more complex than I had imagined for a regular bath due to the requirement for a thermostatic mixer valve (TMV). This device blends hot and cold water that supplies the hot faucet so as to reduce the risk of scalding. It is the valve at bottom left of the picture below:


And below shows the bath installed beneath the window. Originally the window was six inches higher, but we had thought it a bit too high so Richard and Gregg suggested we lower it (rather to our surprise)! One of the advantages of frame construction is that these kind of alterations are manageable.


And we now have a window in the second bathroom also. Someone appears to have left it open...


Here's a view from the master bedroom through the wall studs showing both the second bathroom including the bath/shower to the rear, the laundry room to the fore showing the installation for the washing machine and dryer, and the wiring for the master bedroom routed through the wall studs:


Here's the switch box that controls the lighting for Julia's studio:


That's all for now! 


Roger the Roofer

Clear weather at the start of the year provided a good opportunity for the roofers to apply the felt and shingles to the roof. Here's Roger the roofer demonstrating the felt that acts as underlay to the composite shingles:

The steepness of the roof required the use of numerous 'kick boards' to help the roofers keep their footing. I am not sure how easy it's going to be for me to keep the roof moss free!


Here's the roof section above the breakfast nook showing the vents and flashing. There are a number of ventilation openings all over the roof. Ventilation appears to be a significant feature of houses here because of the damp weather:


The roof also features a ventilation fan which is thermostatically controlled and switches on to increase airflow when the attic area reaches 110 degrees Fahrenheit. It is also manually controlled. Here it is seen from inside the house looking straight up:


And here's the finished roof:


With the roof now in place, work inside the house can move forward apace unencumbered by the weather!


Wednesday, January 1, 2014

Porch, Roof and Electrical Walk Through

Happy New Year to everyone from Oregon! Steady progress on the house includes the porch taking shape, the roof trusses and panels more or less finished and the preliminary electrical walk through completed.

Here's Julia meeting with Richard for the preliminary electrical walk through:


The walk through is to talk about the location and type of light fittings, ceiling fans, electrical sockets and the location of cable sockets and phone line. We are looking to maximise wall space for our artwork and as such we have the opportunity to include directional spots for illuminating particular walls. Here's Julia and our builder Richard discussing some of the details:


Enjoying the view out of the upstairs bathroom window:


The roof trusses and panels are all now close to completion:


Here's a view of the eaves at the front. The edges of the roof deploy plywood rather than the oriented strand board (OSB) used for the rest of the roof and sides because the underside of the eaves will be visible and need to take paint. The eave fascia boards have been installed pre-primed.


Meanwhile, Julia's studio is looking like a really good space. Here's a view towards the front:


And Jon and Mollie enjoying the view from the studio window:


The studio has a couple of cubby holes (above the garage) which will provide Julia with extra storage space for her artwork. Here's one of them. The door will be 2 x 4 ft (smaller than the opening shown).


Beneath the cubby holes here's how the garage currently looks complete with a stubborn little patch of snow left over from the cold snap last year!


And here's some random additional pictures. Firstly the front porch which is starting to look comfy.


Secondly, here's the garage side door ready to be installed with the front door hidden behind it.


And here's Julia discussing photography with Stanley the framer in the dining/sitting room downstairs also showing the view of the living room and fireplace.


That's all for now!